
French Tip Halloween Nails: A Spooky-Chic Guide
Halloween in 2023 is just around the corner, and what better way to celebrate than with festive nail art?
Today, we'll explore a creative and stylish way to style your nails for this spooky season with "French tip Halloween nails".
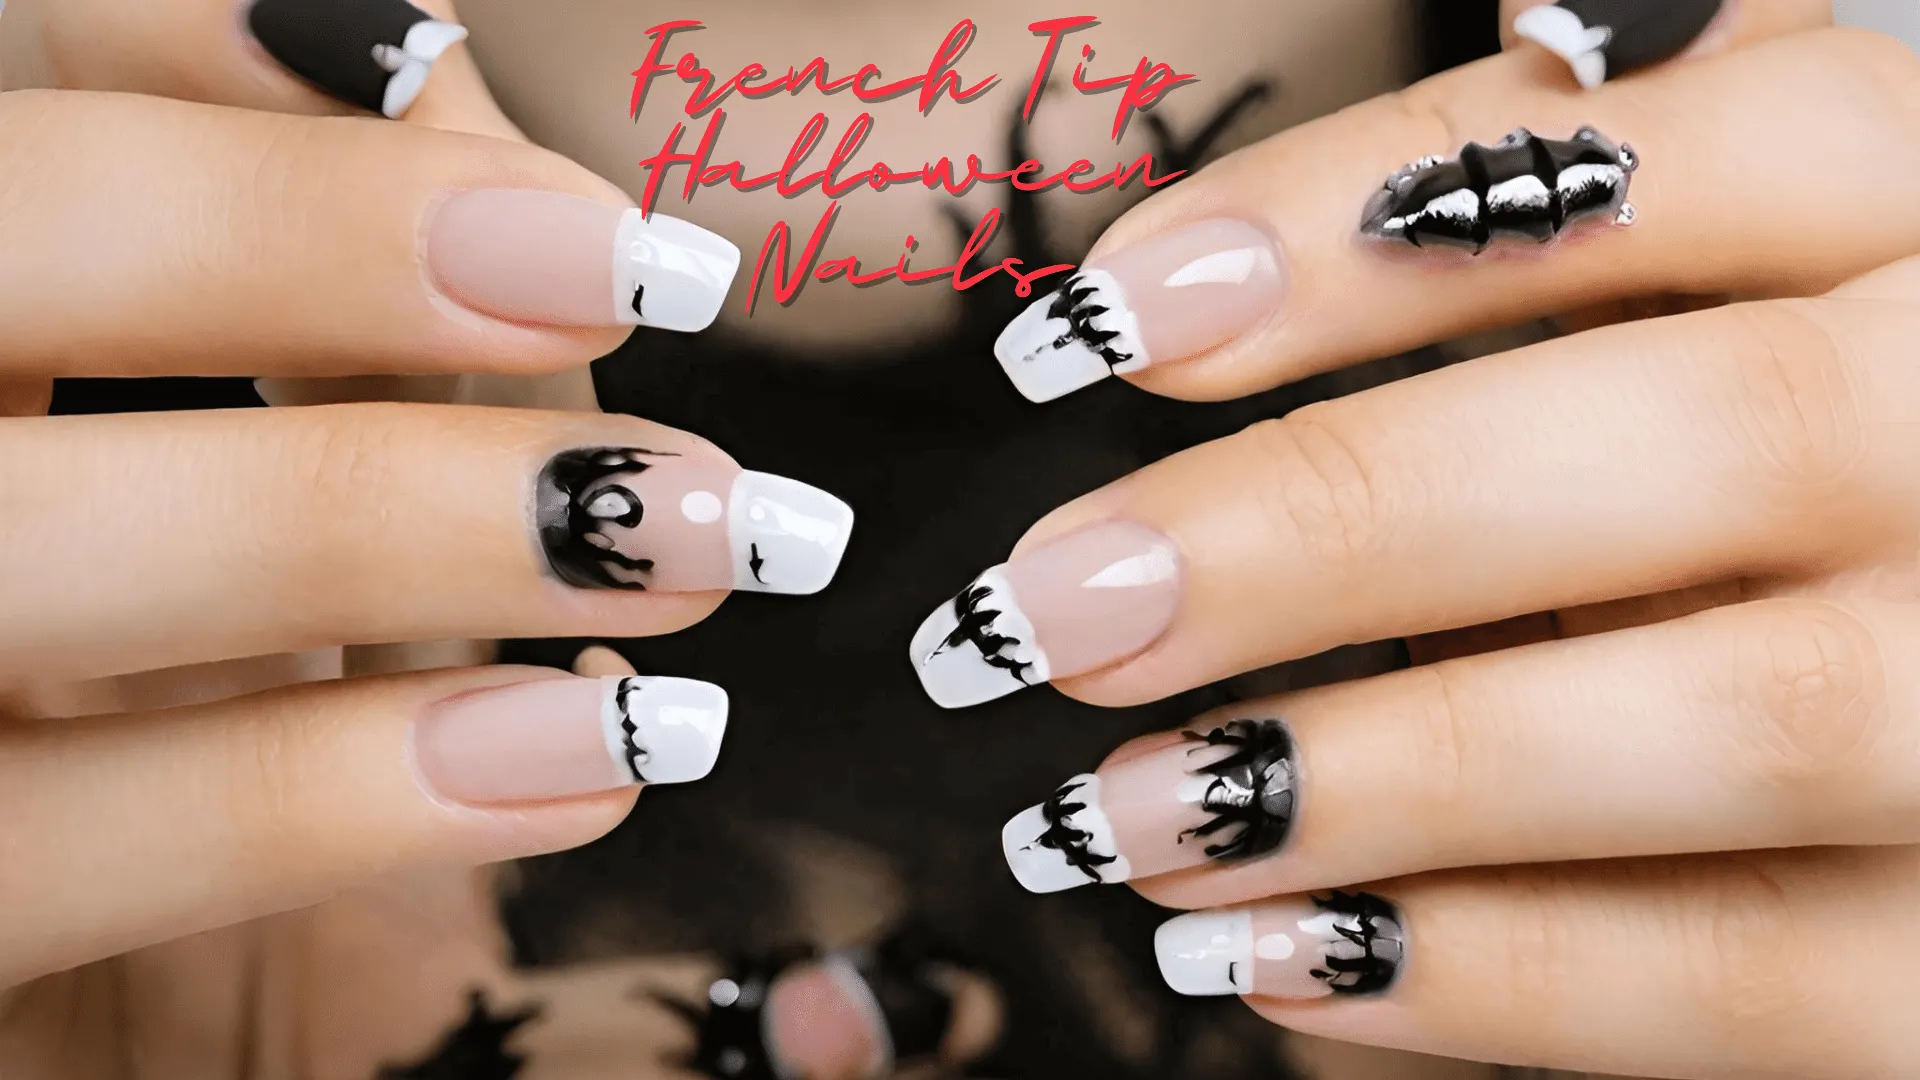
Halloween French tips nails are a great way to embrace the spooky spirit of the season while still looking stylish. A French manicure's classic design is the foundation for a Halloween-inspired look. With some creativity, you can add spooky touches.
For example, try using black glitter or spider web designs to create a truly haunting look.
This look combines the elegance of a classic French manicure with fun Halloween-themed designs. It's suitable for those who want to embrace the holiday spirit while maintaining a chic aesthetic.
And here is how to do French tip Halloween nails.
5 Steps to French Tip Halloween Nail Design
Step 1: Nail Prep
Before starting nail art, prepare your nails first.
You can cut them into your desired shape, whether round, square, or the classic oval.
Push back your cuticles gently for a neat and clean canvas. Finally, apply a clear base coat to protect your nails and get your polish to last longer.
Step 2: Choose Your Colors
The next step is choosing your nail polish colors.
For a traditional French manicure, you'd typically use a pale pink or nude shade as your base and white for the tips. However, since we're creating a Halloween look, feel free to get creative!
Consider contrasting colors like black and orange or purple and green. You could also go for a classic look with red and white.
Apply the light color to the entire nail, excluding the free edge (the part of the nail that extends beyond your finger). Let this dry thoroughly before moving on.
Step 3: Create Your French Tips
Once your base color is dry, it's time to create your French tips.
Using a fine brush or a nail pen, draw a horizontal line across the free edge of your nail. This line should follow your nail's natural curve. Fill in the area beyond this line with a darker color.
Let this dry completely before proceeding.
Step 4: Add Halloween Details
Now, here comes the fun part!
It's time to Halloweenize your French manicure.
Draw Halloween-themed designs on your nails with your fine brush or nail pen. You could add spider webs, pumpkins, ghosts, or bats.
— the sky's the limit!
Depending on your preference, these designs can be placed on the French tips or the base of the nail. Remember to allow each layer to dry thoroughly before adding the next.
Step 5: Top coat.
The final step is to seal your beautiful artwork with a clear top coat. This will protect your manicure and give it a glossy, professional finish.
And finally, you did it!
Your very own French tip Halloween nails.
This design will surely be a hit at any Halloween party and is a chic way to celebrate the season.
Remember to share your nail designs on social media using #FrenchTipHalloweenNails and #AwardforBest.com.
We can't wait to see what spooky Halloween designs you did!
Remember, perfection always happens when you take action.
The more you experiment with different nail designs and styles, the easier it will get. So feel free to be creative in 2023 and try something new.
After all, Halloween is all about the unexpected!
Happy painting!